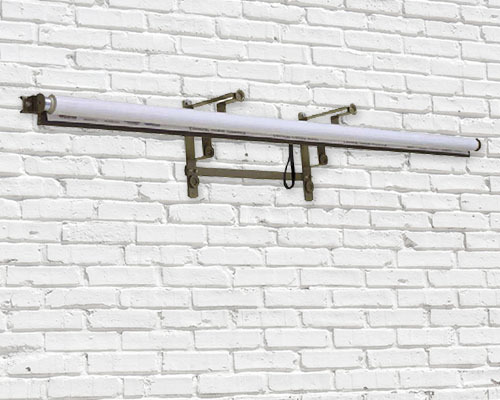
Spring Roller Mounting Hardware
We offer a range of wall mounting hardware brackets for spring roller maps as well as custom map printing and roller mounting using customer provided maps, photos, graphics, or using any of the map titles found at WorldMapsOnline.com
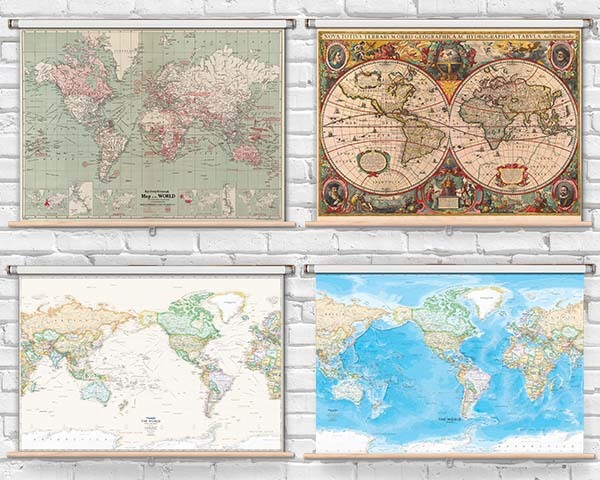
Enhance your classroom setup with our reliable mounting hardware designed specifically for spring roller maps. Discover a wide range of map wall mounts that cater to both single and multi-map combination sets, providing you with versatile options to suit your classroom needs.
For drywall, use toggle bolts or heavy-duty wall anchors rated for the weight of your map assembly. Mounting into wall studs provides the strongest support. For concrete or brick walls, use masonry anchors with appropriate drill bits. The brackets distribute the weight evenly across the mounting points.
Mount the brackets a few inches below the ceiling to maximize the viewable area when the map is pulled down. The map should hang at a height where students in all seats can see both the top and bottom edges clearly. In rooms with very high ceilings, mounting at a standard height (7 to 8 feet) is more practical.
Mounting on studs provides the strongest support and is recommended, especially for heavier multi-map combo sets. If studs are not available at the desired location, heavy-duty toggle bolts rated for the map's weight are a reliable alternative for drywall installation.
Basic installation requires a drill, appropriate drill bits (for your wall type), screwdriver, level (to ensure straight mounting), and a tape measure. Pencil for marking drill points. Most school maintenance staff can complete the installation in 15 to 30 minutes with these standard tools.
Some spring roller maps include mounting brackets, while others require brackets purchased separately. Check the product description to confirm what is included. The Spring Roller Mounting Hardware section has compatible brackets for all map sizes.
Yes. Concrete and brick walls require masonry drill bits and masonry anchors rather than standard drywall hardware. Pre-drill holes at the marked locations, insert masonry anchors, then secure the brackets with screws. This provides extremely strong support suitable for heavy map assemblies.
Adjusting height requires remounting the brackets at a new position. Once installed, brackets are fixed at their mounting location. Measure carefully and use a level before drilling to ensure proper placement the first time. If adjustment is needed, new holes must be drilled.
Yes. Standard mounting brackets (or hooks) can accept new roller maps as long as the replacement map uses the same bracket system and width. This makes it easy to update your maps without replacing the wall-mounted hardware.
After installation, test the brackets by applying gentle downward pressure before hanging the map. The brackets should show no movement or loosening. Once the map is hung, pull it down fully and release to verify the entire system operates smoothly. Check bracket tightness periodically as part of routine maintenance.